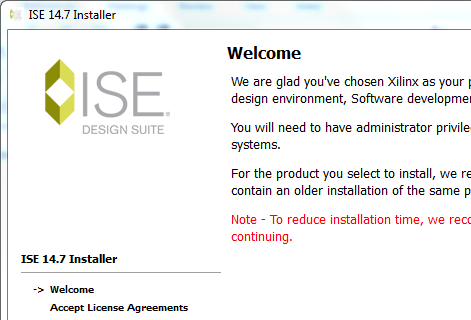
1. Download the WebPack version of ISE unless you have a paid version. Open the Xilinx install folder and double click on xsetup.exe. Click Next when you get the Installer welcome window.
2. Check the two "check and agree" boxes, then click Next.
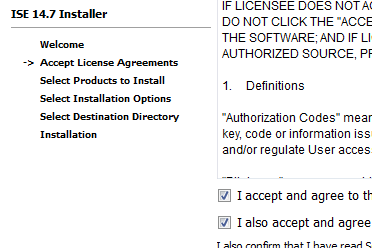
3. Check the next "I accept..." box too and then click Next

4. Select the ISE Webpack version unless you have one of the other versions, then click Next.
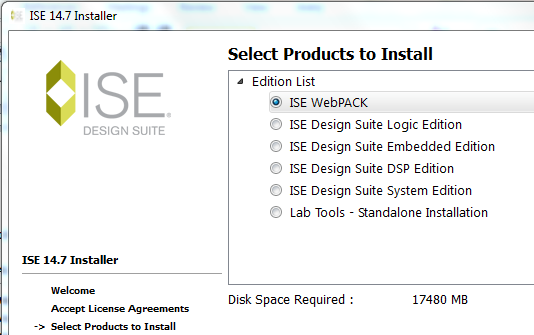
5. The following should be selected (default). Click the Next button

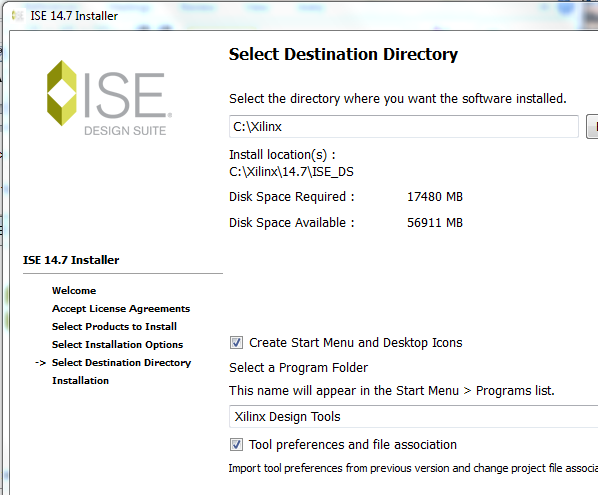
6. Use the default install directory C:/Xilinx. (other tutorials in this website are based on this)
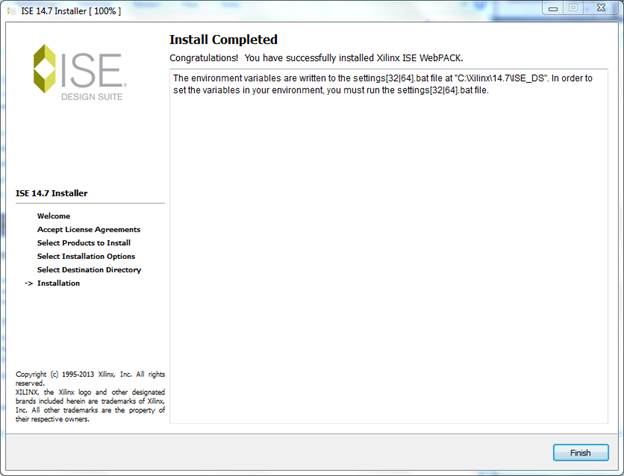
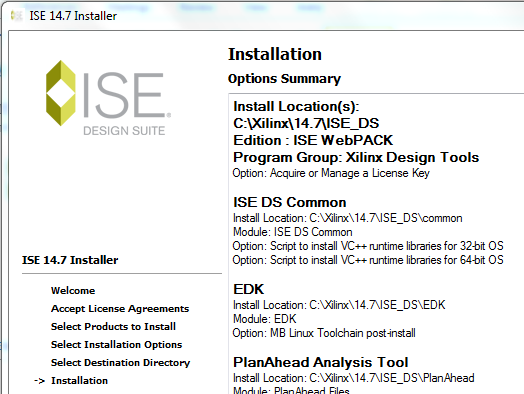
7. Just click the Install button on the Installation window
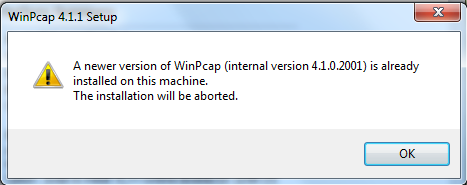
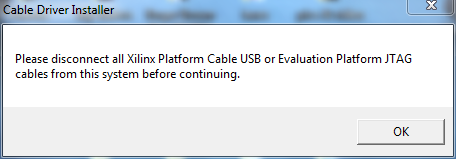
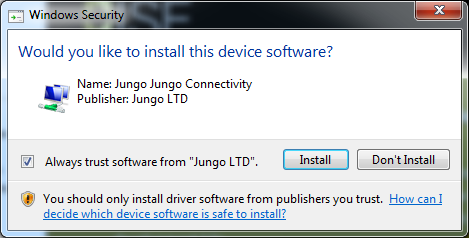
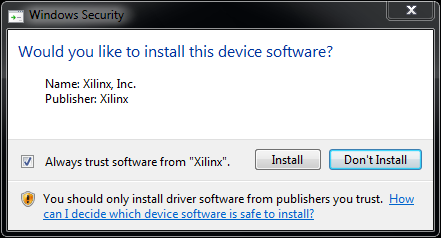
8. Take a lunch break as the install may take quite a while. If you get any of the following pop-up windows just click OK or Install
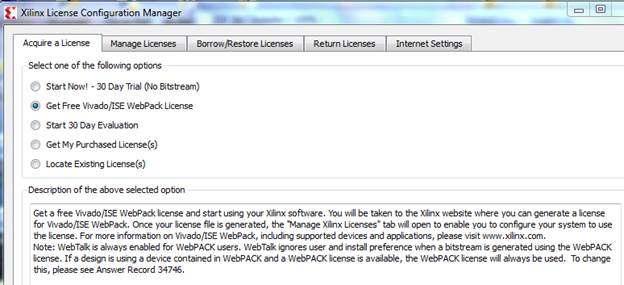
9. Select Get Free Vivado/ISE Webpack License, then click Next
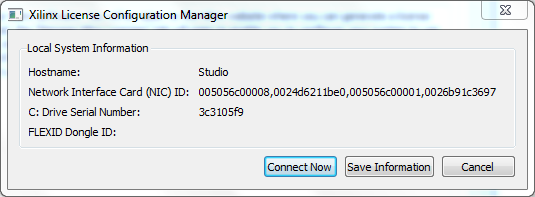
10. Click Connect Now
11. This will take you to the Xilinx website where you will need to either login or create an account.
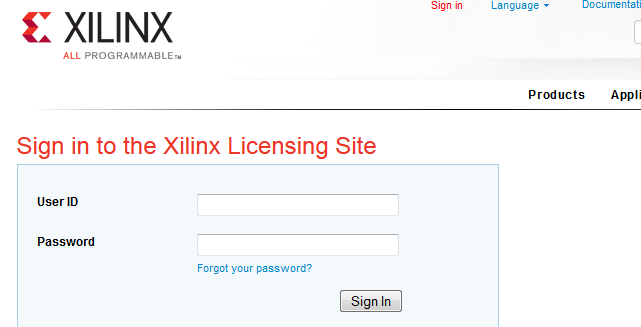
12. Once logged in, Scroll down and select ISE WebPACK License
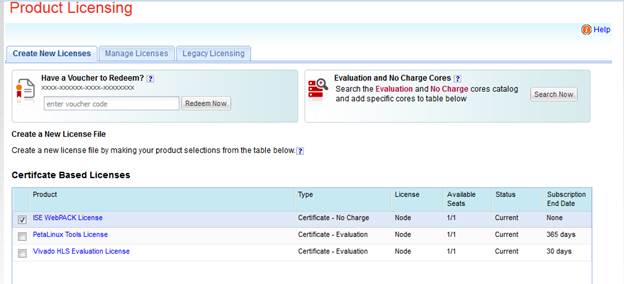
13. Below that, press the GenerateNode-Locked License button
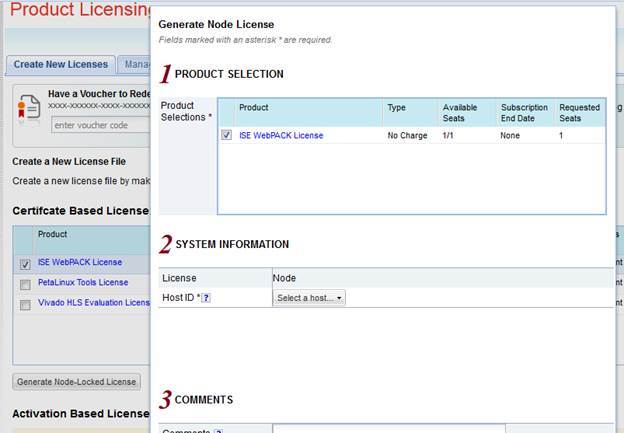
14. Select your host hard drive. Then click Next.
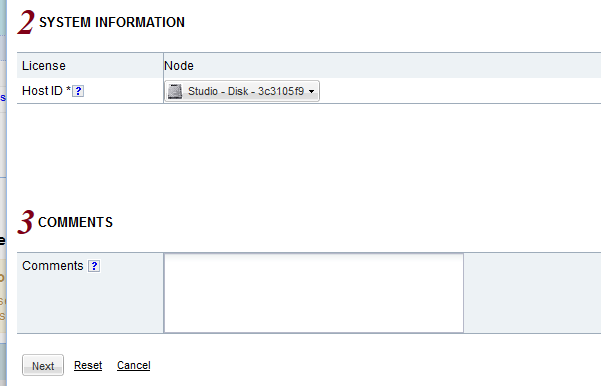
15. Click Next for the following
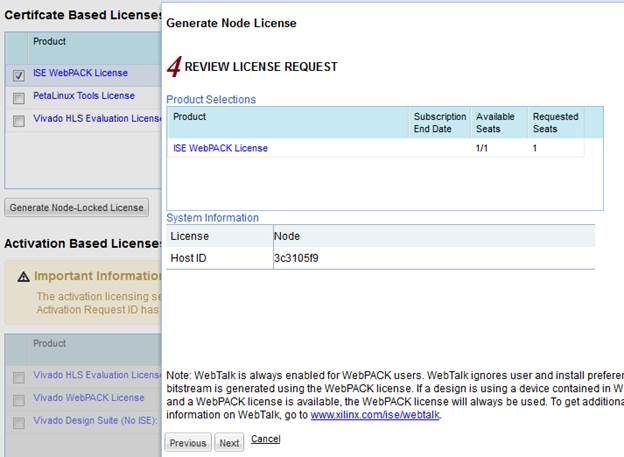
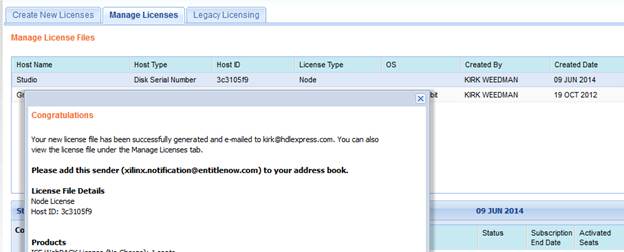
16. Your new license should get generated and emailed to you. Your should see the entry in your account. The one done in this tutorial was done on June 9, 2014 as shown below. Now logout & close your web browser.
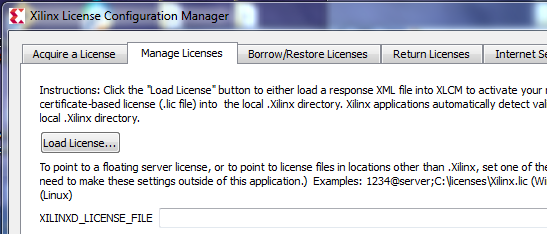
17. You should now see your Xilinx License Configuration Manager. Make sure the Manage Licenses tab is selected. Before continuing, get the license file that was emailed to you and save it on your hard drive somewhere. Rename the license file to XilinxWebpack.lic. Now select this file in the Manage Licenses by clicking the Load License button and navigating to the file. When completed, there will be a new folder on your PC named .Xilinx that has the license file in it.
18.. If you get this pop up just click OK
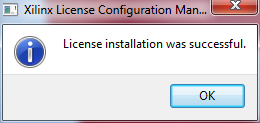
19. Close the Xilinx License Configuration Manager window and go to the ISE Install window.
Click on Finish.
20. The Xilinx tools are now installed. Before running simulations with ModelSim, the libraries will need to be compiled. This is explained in another tutorial.